
DLNA, or The Digital Living Network Alliance, is a useful feature for sharing and accessing files. The users can share and access files, including videos, audio, and pictures between devices. It is a useful feature that will help you access local files between devices that are DLNA-enabled. In other words, DLNA is a way to stream videos from your computer to your TV on a bigger screen. Interestingly, your Roku device comes with DLNA support. Let’s find out more about DLNA on Roku.
How to Access Local Files With DLNA on Roku
To access files on Roku with DLNA, you need to connect your PC and Roku to the same Wi-Fi network.
Step 1: Install Roku Media Player on Roku
1. Setup your Roku TV and press the Home button on the Roku remote.
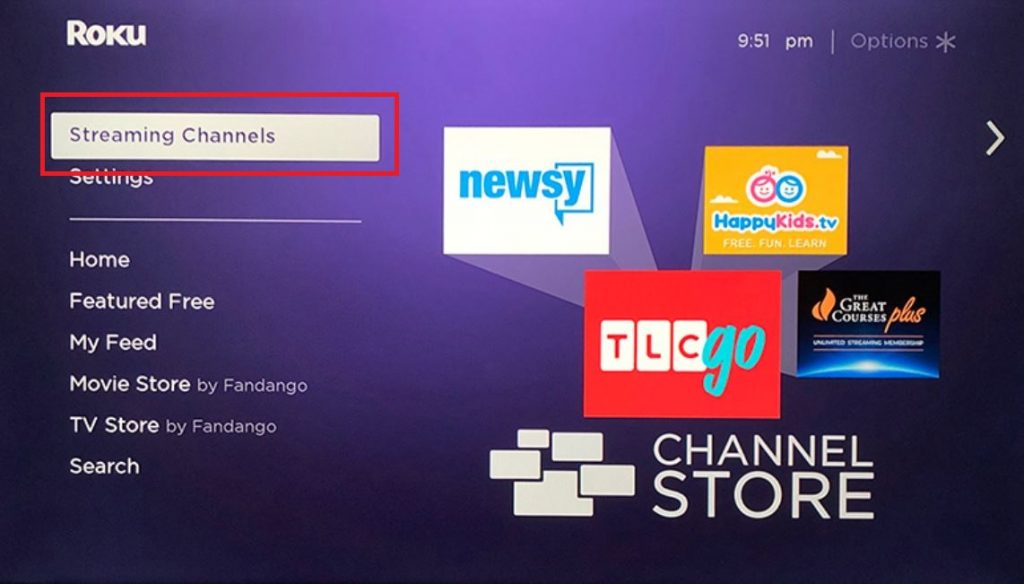
2. Find the Streaming Channels option and select the same.
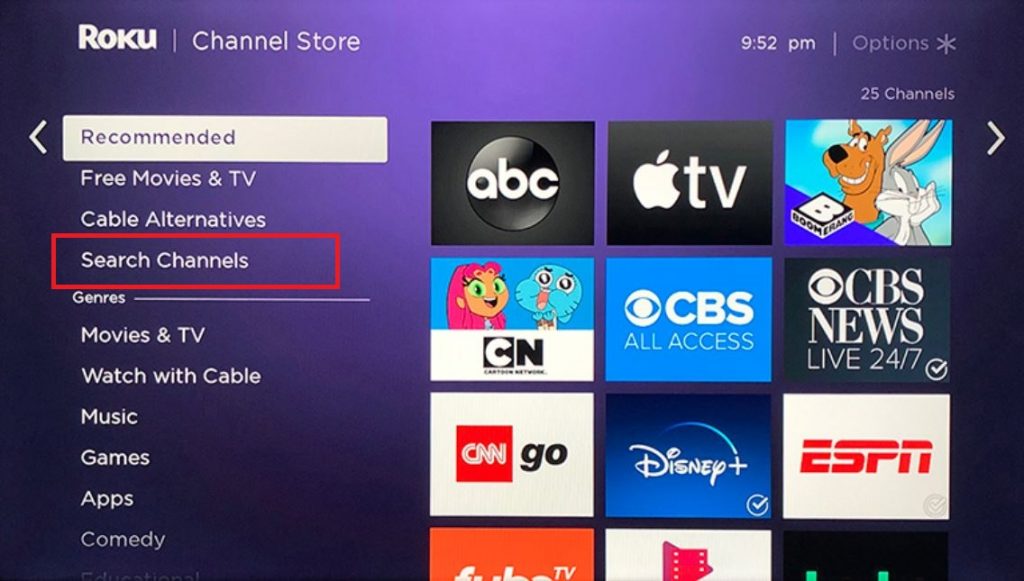
3. Next, select the Search Channels option from the menu.
4. Type in and search for the Roku Media Player app.
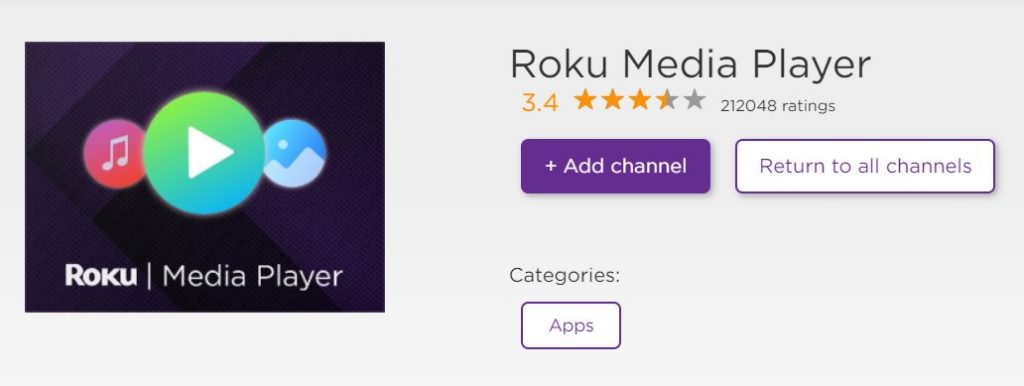
5. Pick up the Roku Media Player app icon from the search results.
6. Install the app on your device by selecting the Add Channel option.
Step 2: Turn the PC Into a DLNA Server
1. Select the Action Center icon from the bottom-right corner of your PC screen.
2. From the menu, select the All Settings option.
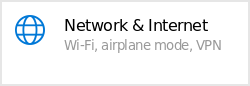
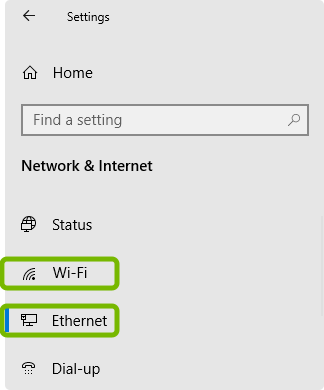
3. Next, choose the Network & Internet option.
4. Next. Choose either Ethernet or Wi-Fi as necessary.
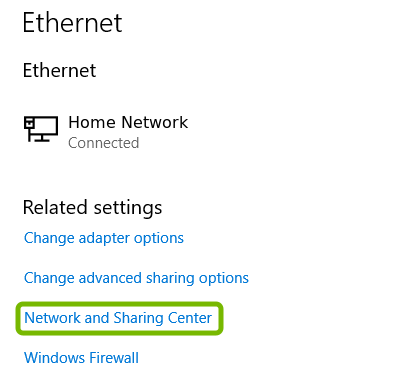
4. Next, click on the Network and Sharing Center option.
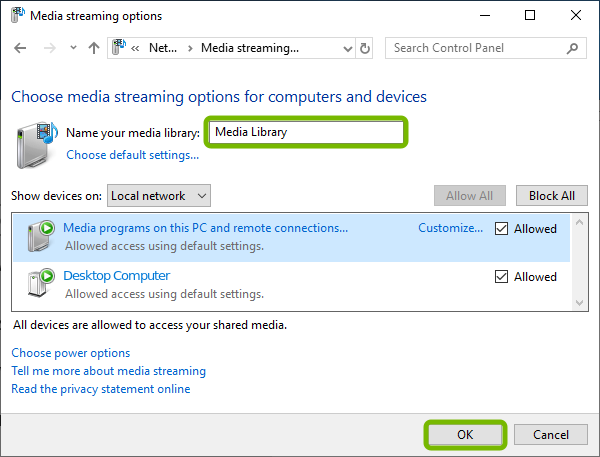
5. Select Media Streaming options and then the Turn on media streaming button.

6. Type in the name of your media library and press the OK button.
Step 3: Play Local Videos on Roku
You must connect both the PC and the Roku device to the same Wi-Fi network. Only then you can access the local files on your TV.
1. Select the Video option and choose your PC from the list of available devices.
2. Next, choose the folder you want to access and view it on your Roku TV.
Alternative Methods to Access Local Files on Roku
Let’s find out more ways to access and play local files on your Roku device using DLNA.
Using a USB Drive
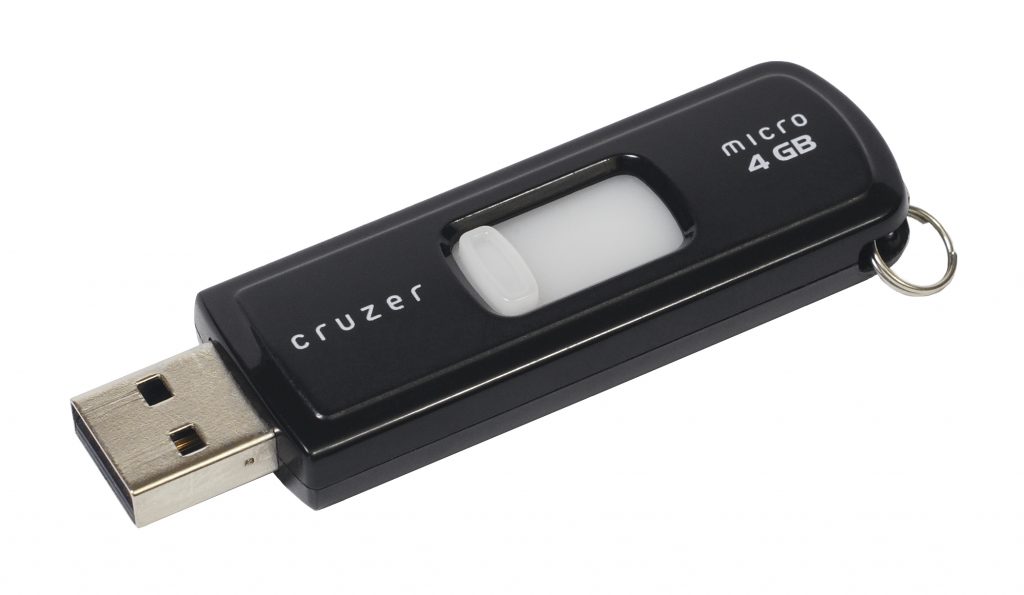
If your Roku device supports a USB drive, you can access your local files in it. Therefore, collect your local files on your USB drive and play them on your TV. You need to make sure that the USB drive is formatted with file systems like HFS+, EXT2, EXT3, NTFS, FAT32, and FAT16. All you need to do is connect the USB drive to your Roku device’s USB port and access the files in it.
1. Initially, open the Roku Media Player app on your device.
2. Select the Video tab in the app.
3. You can see an icon for the USB drive.
4. Press the Asterisk (*) button on your remote and access the files from the USB drive.
Note: Alternatively, you can use the Screen Mirroring on Roku feature to mirror the screen of your PC to Roku. Then, you can access the files from your PC on the big screen.
Frequently Asked Questions
The DLNA media server helps you stream your local videos from your PC on your Roku device.
You can turn on the Action Center of your PC > All Settings > Network & Internet > Ethernet/Wi-Fi > Media Streaming options > Turn on media streaming button > OK button.
If you can’t cast files from your PC on your Roku device, make sure to connect both the devices to the Wi-Fi network.